

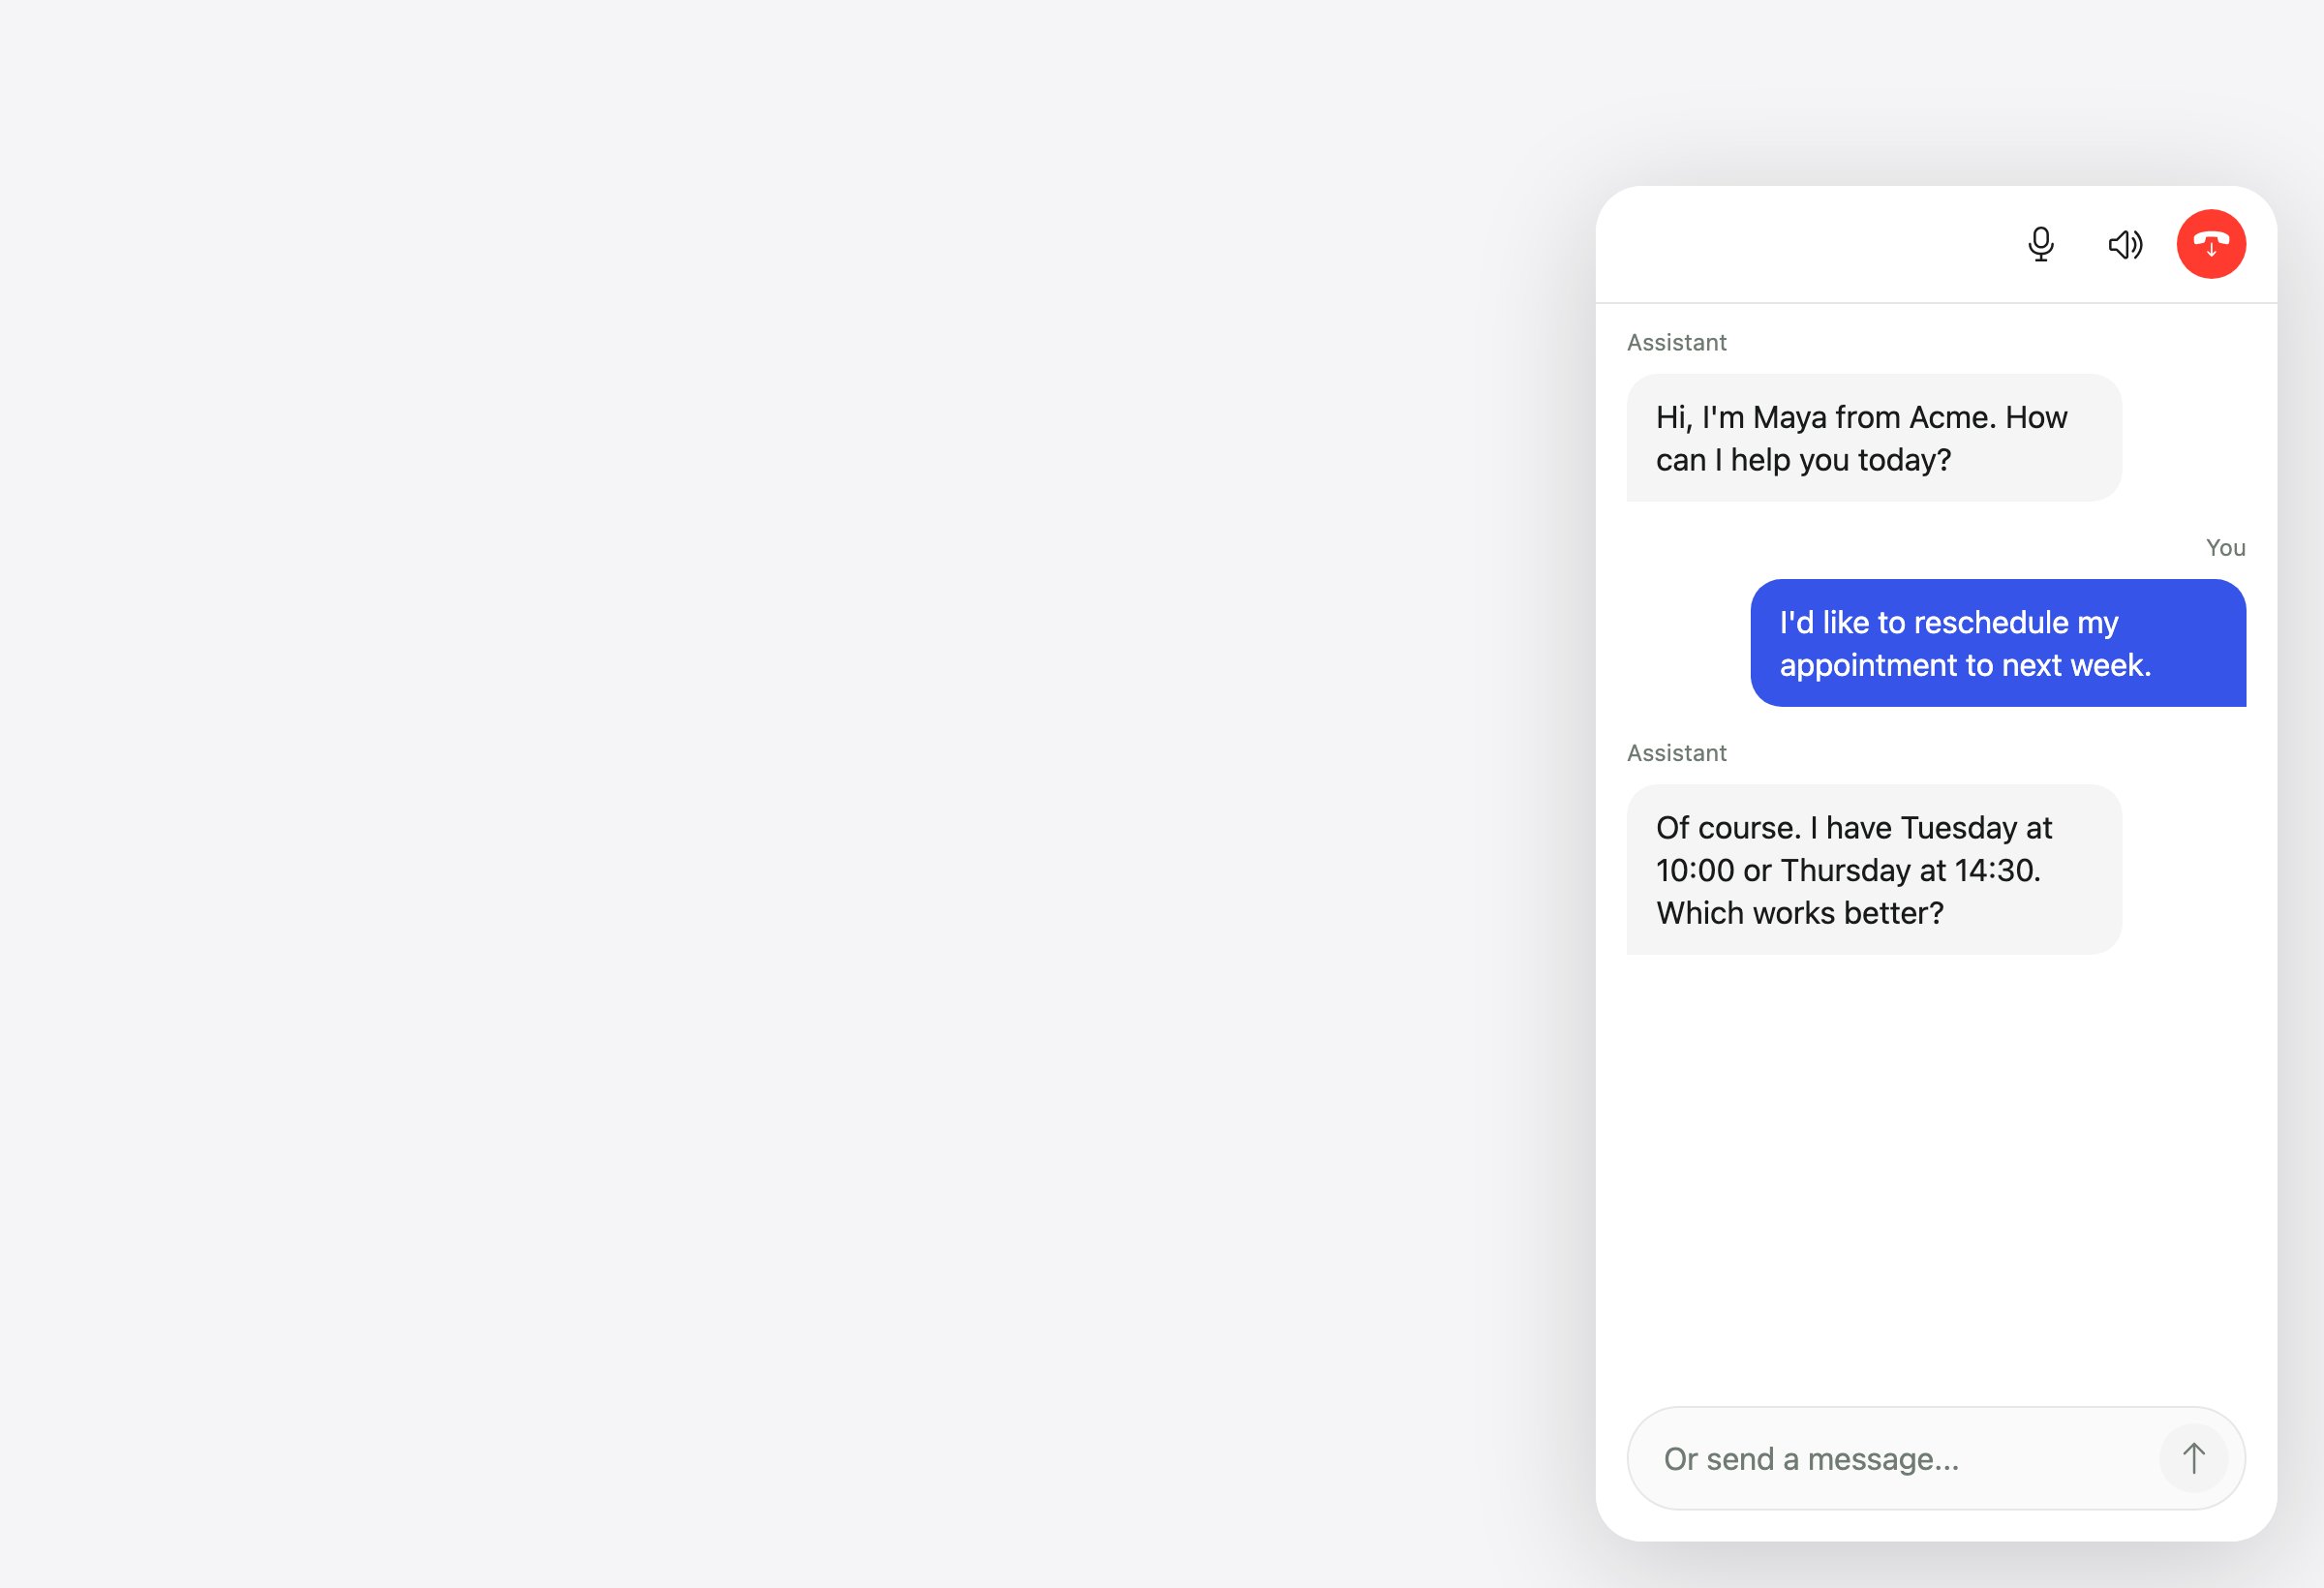
The widget on a page during a voice call: the floating launcher expands into a call window with the live transcript.
The widget is enabled per account. If you don’t see a Widget tab in Channels, email to turn it on.
Before you start
- A Voice agent set to Incoming in General Settings. The widget never dials out; visitors start the conversation. The Widget tab only appears on incoming Voice agents.
- The agent is saved. The installation code is generated from the saved agent.
- Access to your website’s HTML, or to a tag manager that can inject a script tag.
Step 1: Enable the widget
1
Open the Widget tab
In the agent header, click Channels, then the Widget tab.
2
Turn it on
Switch on Enable widget (“Let visitors call this campaign from your website”). This also creates the agent’s web call secret, used only for the Custom integration.
3
Save
Save the agent. Until it is saved, the tab shows “Save your campaign to get your widget installation code.”
Step 2: Your Domains
List every hostname the widget is allowed to run on. Type a domain (for exampleexample.com), then press Enter or click Add. Each domain becomes a removable chip.
When a visitor opens the widget, Callers checks the page’s origin against this list and refuses the call if it isn’t there.
Step 3: Bot protection
Bot protection stops scripts and bots from starting conversations and using up your minutes. Callers uses Cloudflare Turnstile, which is free and invisible to most visitors.1
Create a Turnstile widget
Open the Cloudflare Turnstile dashboard and create a widget.
2
Add your website domains
In Cloudflare, add the same hostnames you listed under Your Domains.
3
Paste both keys
Copy Cloudflare’s Site key and Secret key into the matching fields in Callers, then save the agent.
Protection turns on only when both keys are filled in. Clear either field to turn it off. The secret key stays in Callers because the check runs on Callers’ servers, not in the visitor’s browser.
Step 4: Copy the code
Copy the snippet from Copy the code and paste it before the closing</body> tag on every page where the widget should appear.
Older snippets use
data-campaign instead of data-agent. Both keep working. If both are present, data-agent wins.Pass visitor information
If the agent has variables, the snippet includes adata-vars attribute with a placeholder for each one:
{{ name }} placeholders with real values from your page or template engine before the HTML reaches the browser:
Common script-tag attributes
The full list, including audio and avatar options, is in Script tag attributes.
Avatars and Page Guide
Two features are set on the script tag rather than in the dashboard: a talking avatar that gives the agent a lip-synced face during voice calls (data-avatar="maya", with layouts, framing and backgrounds), and Page Guide, which lets the agent see a summary of the page and highlight or scroll to elements while it talks (data-page-guide="true"). Add the attributes to the snippet you copied, and use the playground to preview the result against your agent before you deploy. Avatars can also be previewed in the dashboard’s Test > Web Call tab, where you pick an Avatar and an Avatar background for that test call only.
Custom integration
Use the Custom option when you need your own launch button, a conversation embedded in your page layout, logged-in visitors, or a mobile app. It uses the Web SDK and authenticates with a short-lived token that your server signs. The Custom tab shows three steps: install the SDK, Authenticate (your agent’s web call secret, masked), and Initialize the SDK with a code sample that includes your agent’s variables. Tokens can be signed with either the agent’s web call secret or any of your organization’s API keys. A valid token is accepted from any origin, so the domain list doesn’t apply, which also makes tokens the right choice for local development. Bot protection, if on, still applies. The SDK is loaded fromhttps://cdn.callers.ai/sdk.js. Start with the SDK quickstart and Authentication, which show the token format and server code in several languages.
Test the web call
You don’t need a website to try the agent. Click Test in the agent header, choose the Web Call tab, fill in any variables, and start the call. The conversation runs in the dashboard with the same widget your visitors see, including in-call forms. See Testing your agent. To try the widget with different settings, themes, and avatars against your real agent, use the SDK playground.Verify the installation
1
Load the page
Open a page where you pasted the snippet. The floating button should appear within a second or two.
2
Start a conversation
Click the button and allow microphone access. Try both speaking and typing in the text box.
3
Check the results
Open the agent in Callers and confirm the conversation appears with its transcript. Web calls are listed with your other calls.
Common errors
The widget doesn't appear at all
The widget doesn't appear at all
Check that the script tag is inside
<body> and isn’t blocked by a content blocker or a Content Security Policy. If your site sets a CSP, allow scripts from https://cdn.callers.ai. Then check the tag itself: with neither data-agent nor data-token, the SDK stops silently. A page with no button and no console message is almost always a missing or misspelled data-agent.The agent greets visitors with {{ name }}
The agent greets visitors with {{ name }}
The
data-vars placeholders were never replaced. Your page or server must substitute real values before the HTML is served.It works in production but not on localhost
It works in production but not on localhost
Ports aren’t stored, so
localhost:3000 doesn’t match localhost. Use a token for local development.Visitors can start one conversation but not a second
Visitors can start one conversation but not a second
With bot protection on, each conversation gets its own challenge. After a call ends, the visitor closes and reopens the widget to start another one.
Related
Styling the widget
Themes, the Widgets library, and matching your brand.
In-call forms
Collect structured answers with forms during the call.
Web SDK
Full control: methods, events, headless mode, React Native.
Call transfers
Hand a web call to a human operator queue.
Talking avatars
Give the agent a lip-synced face on voice calls.
Page Guide
Let the agent see the page and point at elements.