Adding Contacts Manually
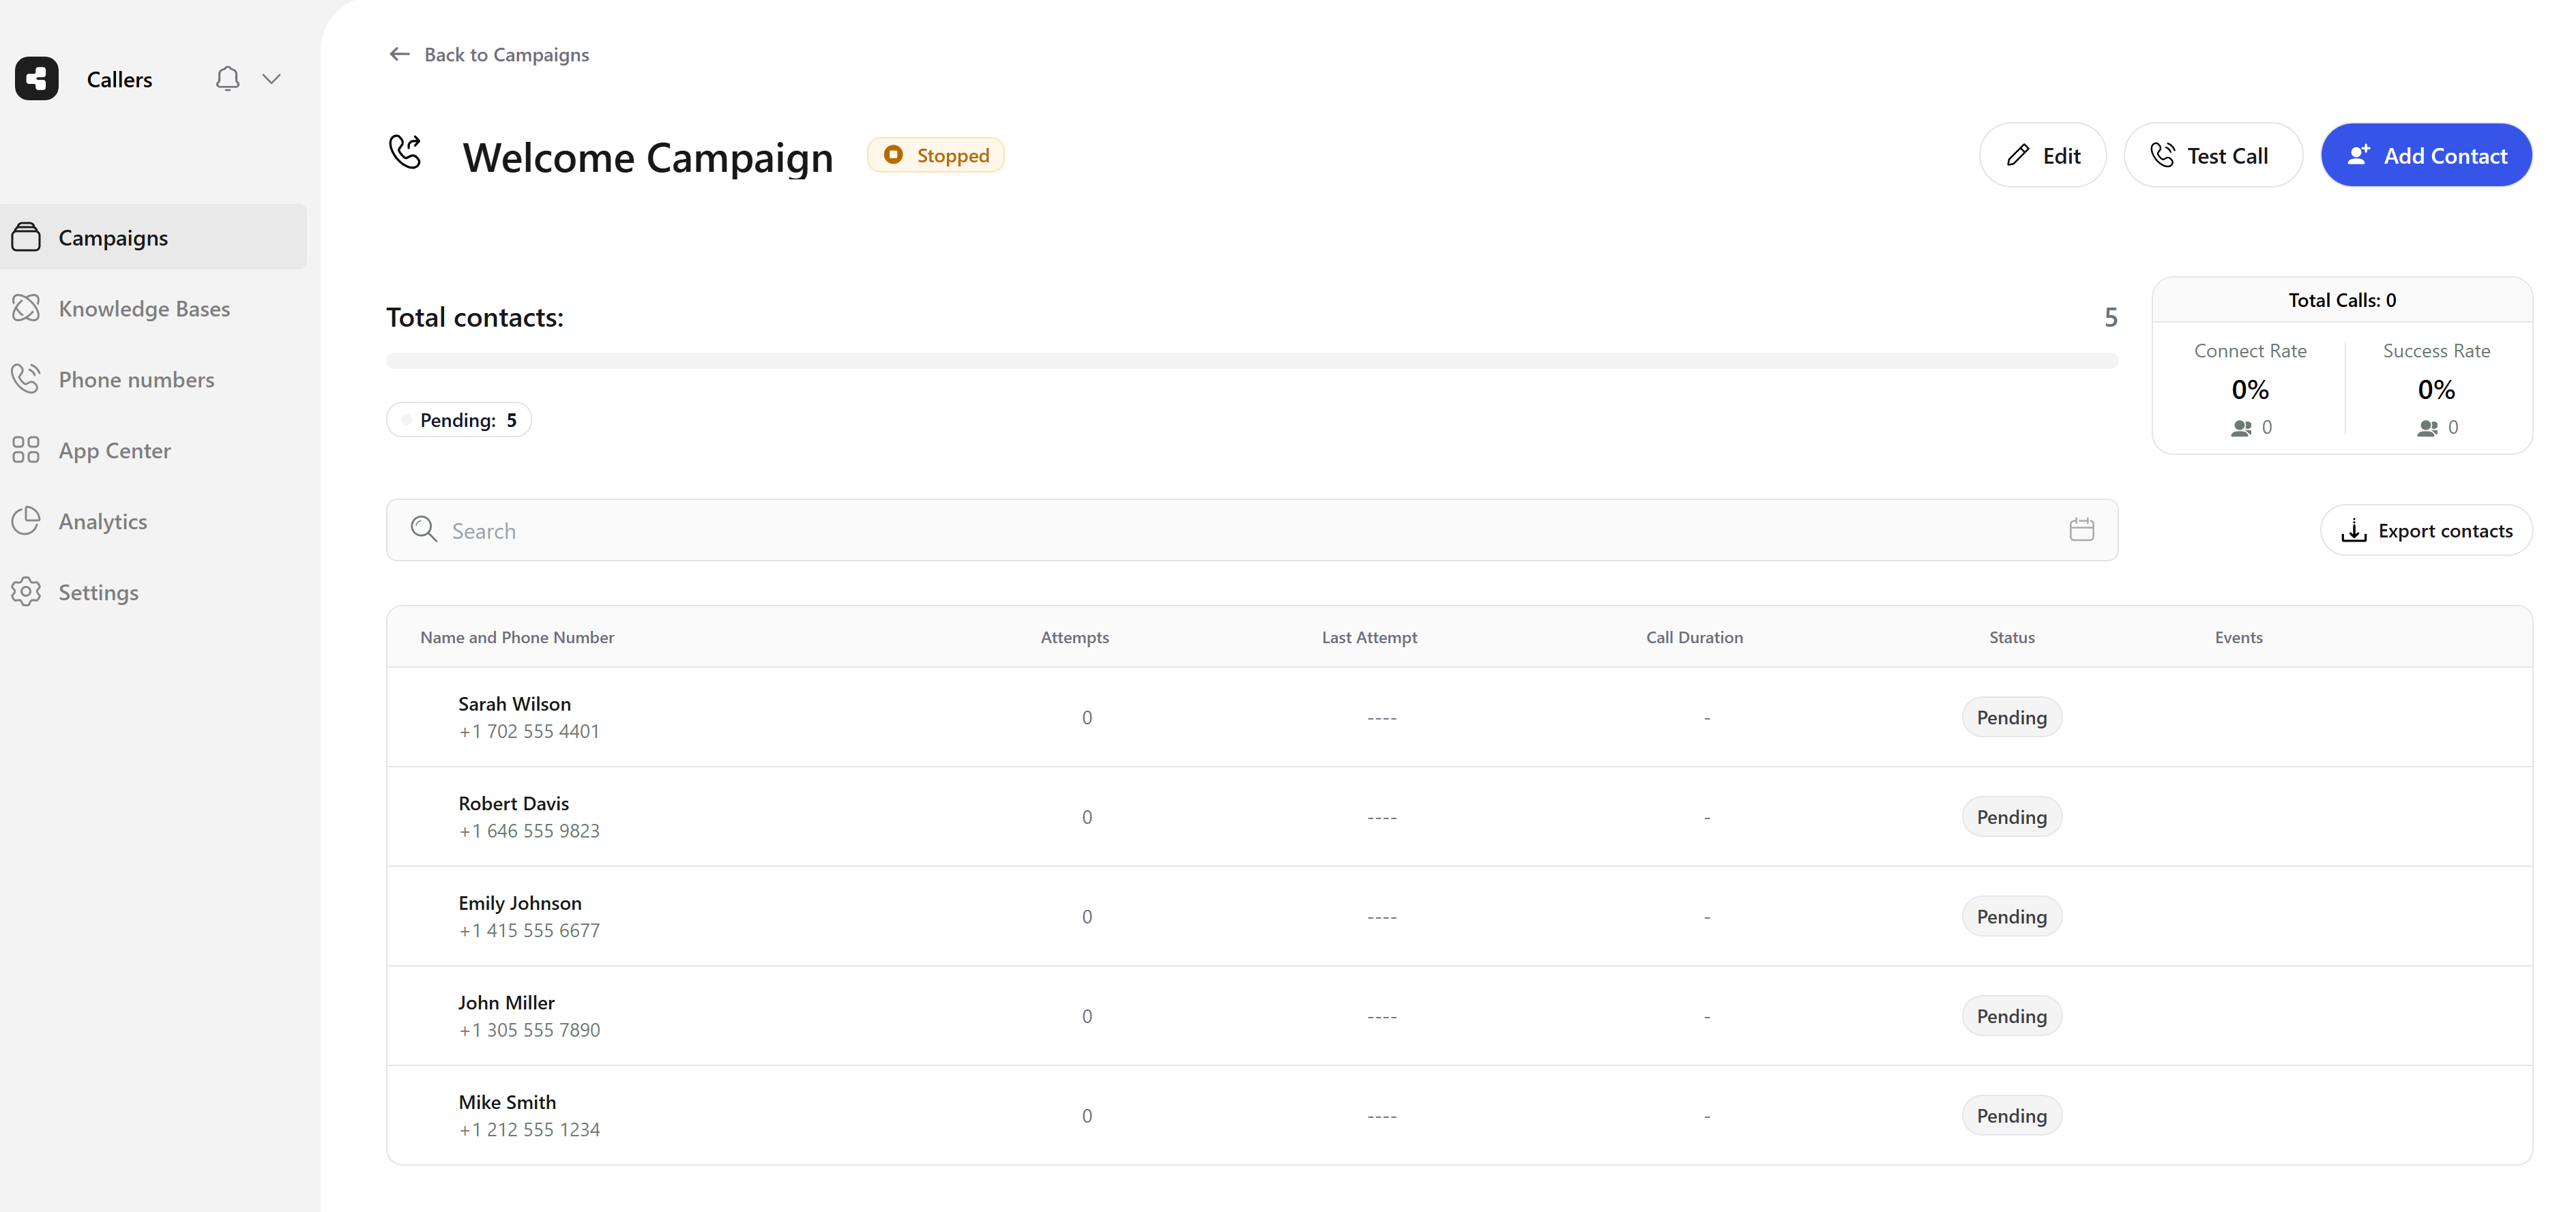
- Navigate to Your Campaign: From the main dashboard, click on the campaign you want to add contacts to.
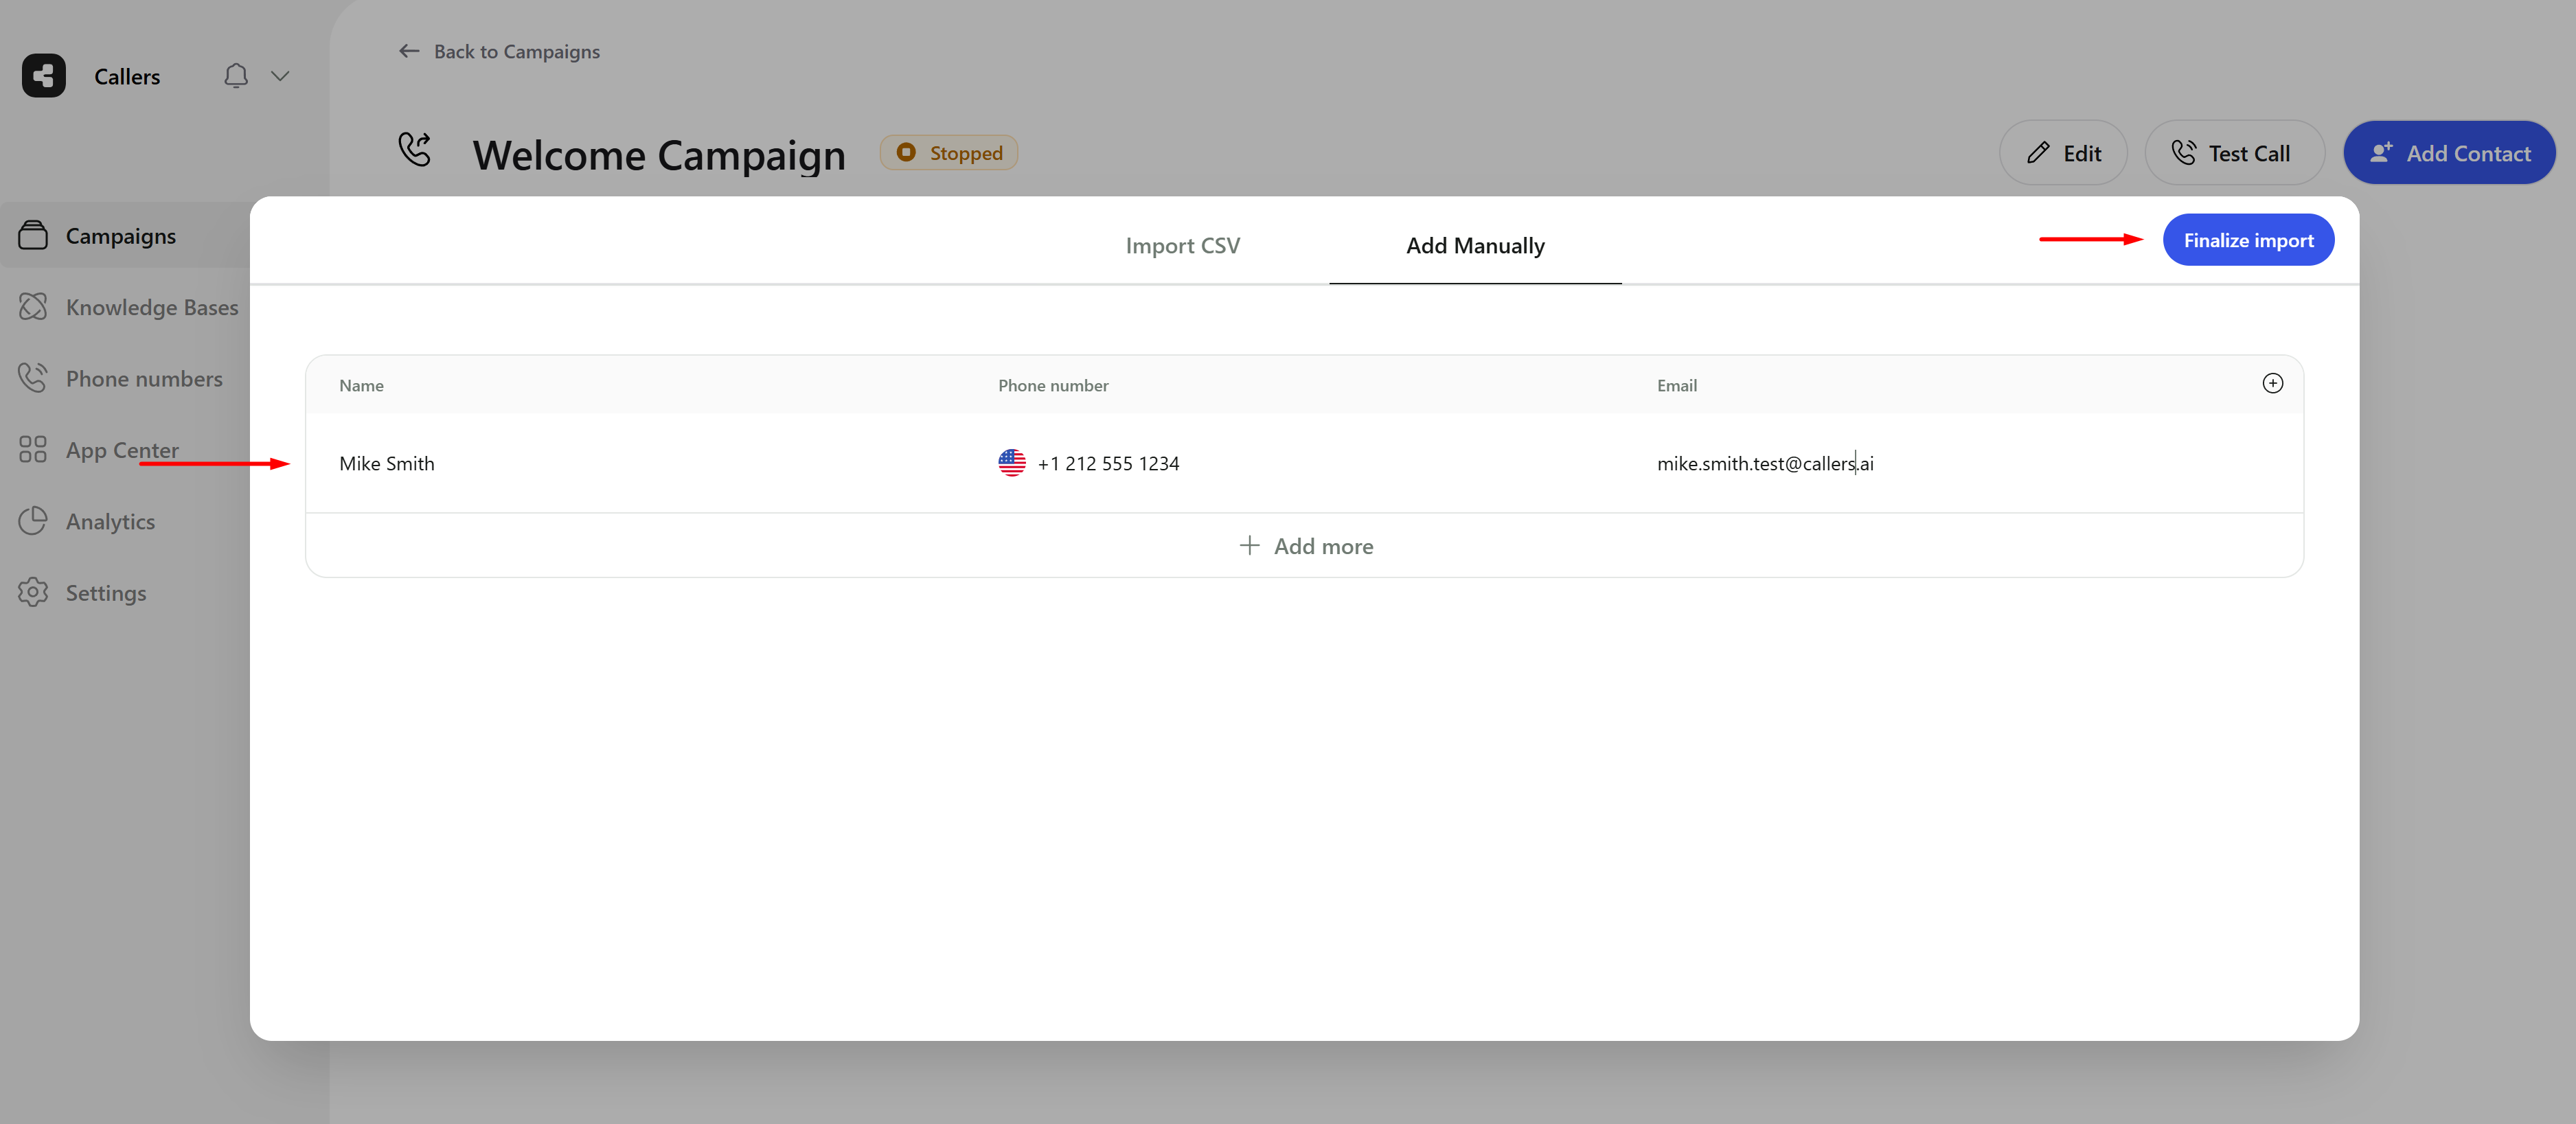
- Add Contacts: Click on the “Add Contacts” button located on the top right of the campaign page. In the window that will be opened, click on the “Add Manually” tab at the top.

- Enter Contact Details: Start filling in the contact details as required by the variables included in the campaign, such as name, phone number, email address, and any custom fields.
- Finalize Import: After entering all the necessary details, review the information to ensure accuracy. Click on ‘Finalize import’ located on the top right of the window.
- Wait for Processing: Wait for the platform to complete the processing of the data. This may take some time depending on the volume of contacts being added.
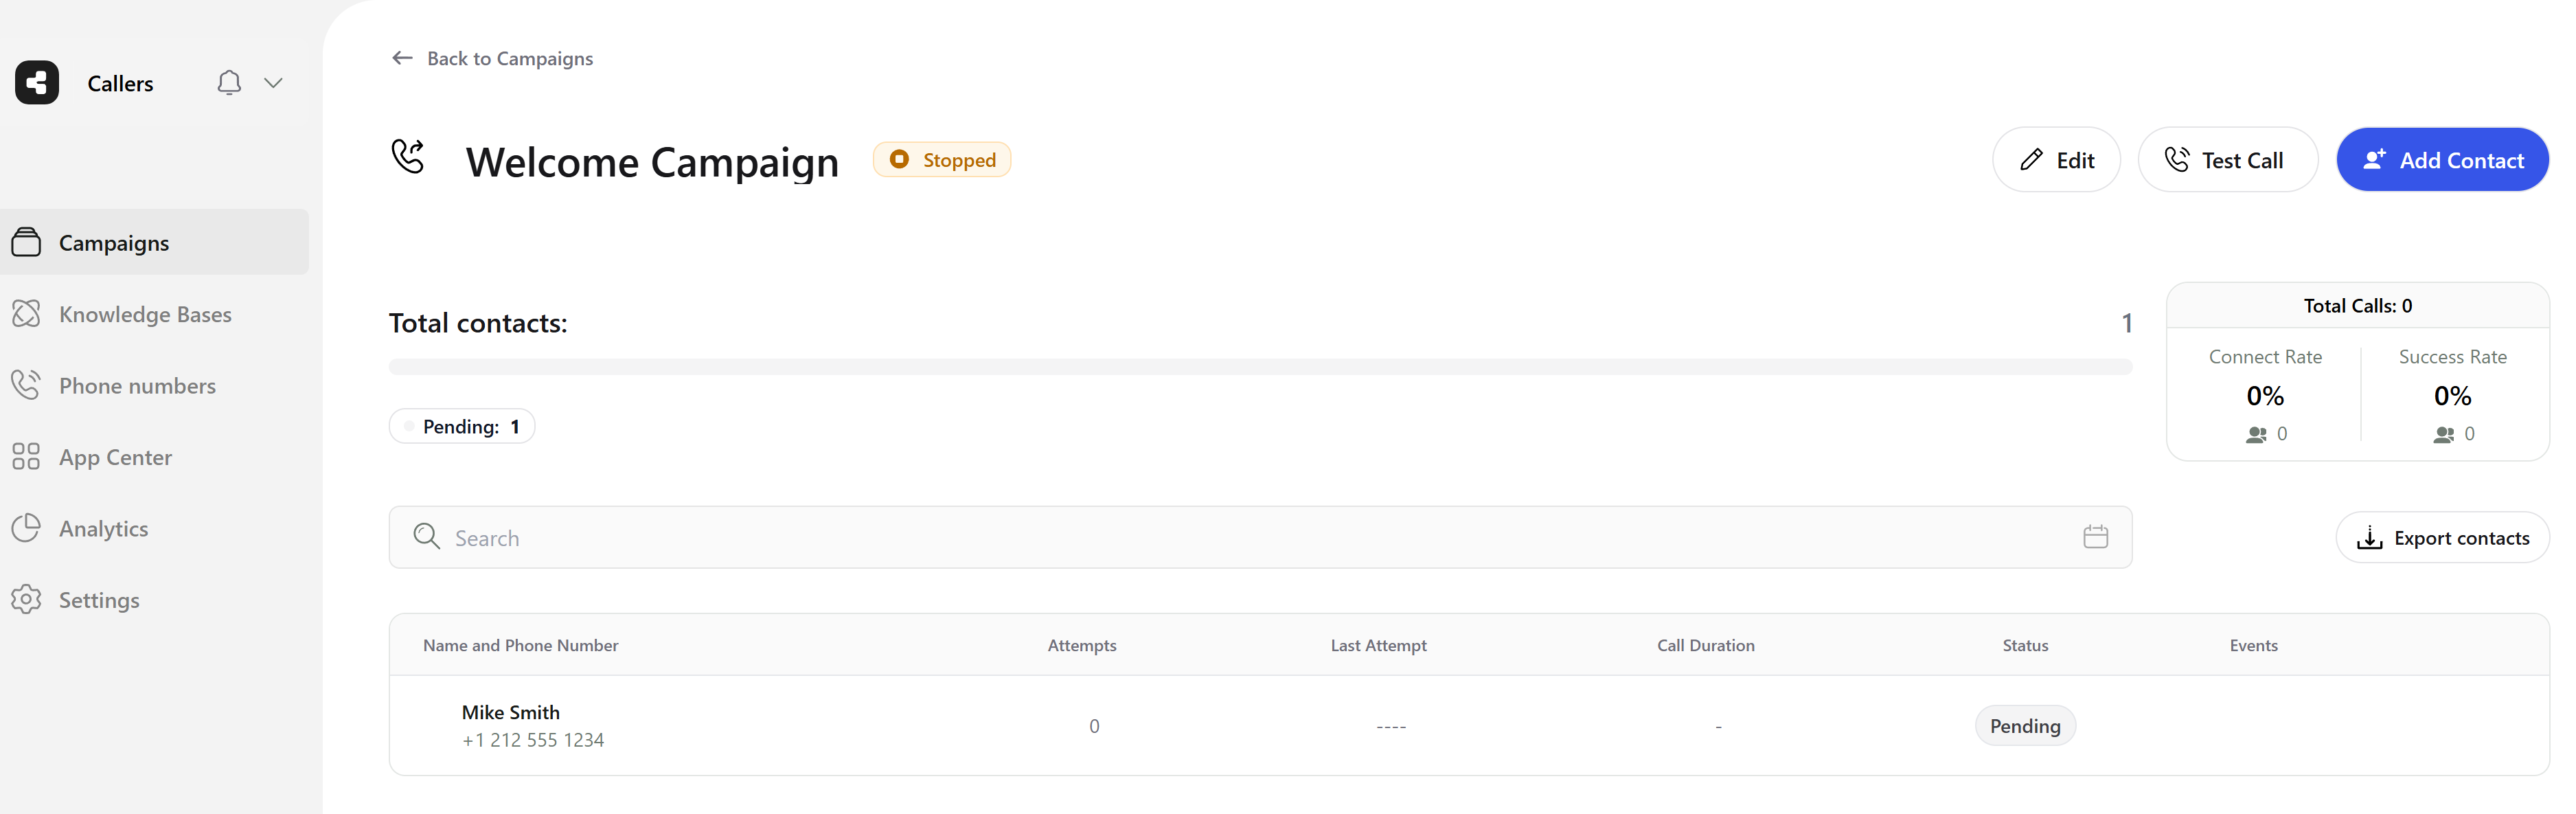
- View Summary: Once the import is finalized, a summary will be displayed showing the number of contacts successfully added and the number of contacts that were not added.
- Complete the Process: Click on the ‘Finalize import’ button located on the top right of the window again to confirm the completion of the process.
Uploading Contacts via CSV
CSV Format
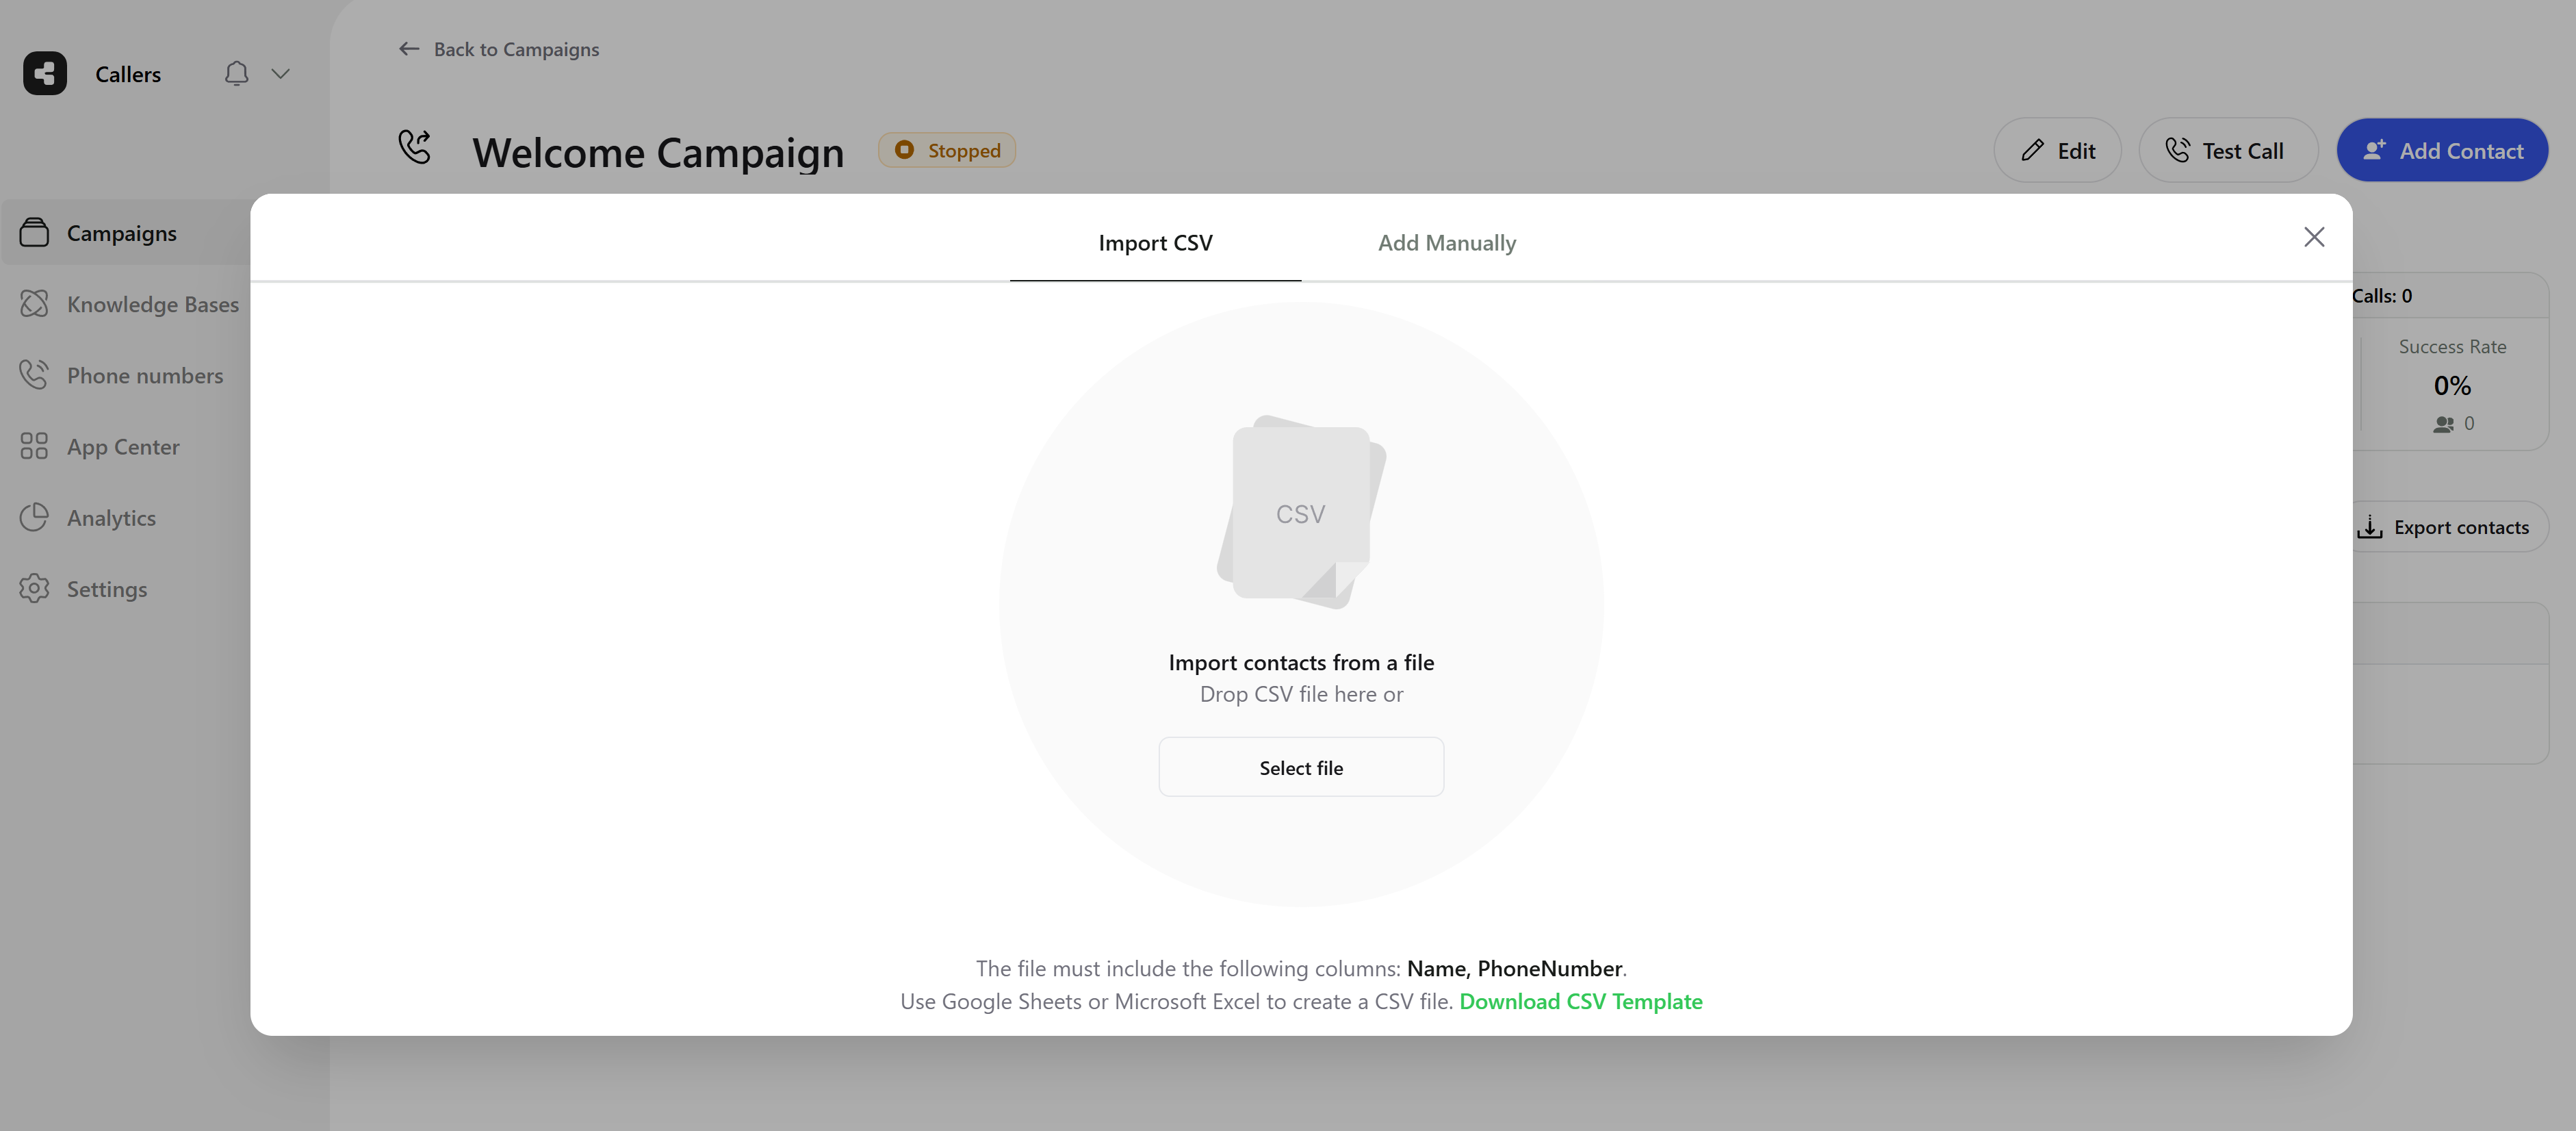
- Header Format: Ensure your column headers follow a consistent style that matches the variable names used in your campaign. For ‘Property Address’, acceptable formats include ‘PropertyAddress’, ‘propertyAddress’, ‘Property Address’, ‘Property_address’, and ‘property address’.
- For the name of the contact, use ‘name’ or ‘Name’.
- For a single phone number, use ‘phone number’ or ‘phoneNumber’ in various acceptable formats.
- For multiple phone numbers, use ‘phoneNumbers’ (see details below).
- For the email, use ‘email’ or ‘Email’.
- Include Country Code: Make sure that phone numbers include the country code to ensure they are recognized correctly.
- Spaces and Symbols: It’s acceptable for phone numbers to contain spaces and symbols like dashes or parentheses. These characters will not interfere with the upload process, so feel free to include them if they are a part of your phone number formatting in the dataset.
Multiple Phone Numbers
You can specify multiple phone numbers for a single contact using thephoneNumbers field. The system will call these numbers sequentially until one is answered.
Important: When using the
phoneNumbers field in CSV:- The entire field value must be wrapped in double quotes ("")
- Multiple numbers should be separated by commas
- Each number should include the country code
""+1 555 555 1234,+1 555 555 5678,+1 555 555 9999""contacts.csv
contacts.csv
- Navigate to Your Campaign: From the main dashboard, click on the campaign you want to add contacts to.
- Add Contacts: Click on the “Add Contacts” button located on the top right of the campaign page. In the window that opens, click on the “Select file” button to browse and choose the CSV file from your computer.
- Finalize Import: After you have filled in the contacts via CSV, click on the ‘Finalize import’ button located on the top right of the window.
- Wait for Processing: Wait for the platform to complete the processing of the data. This may take some time depending on the volume of contacts being imported.
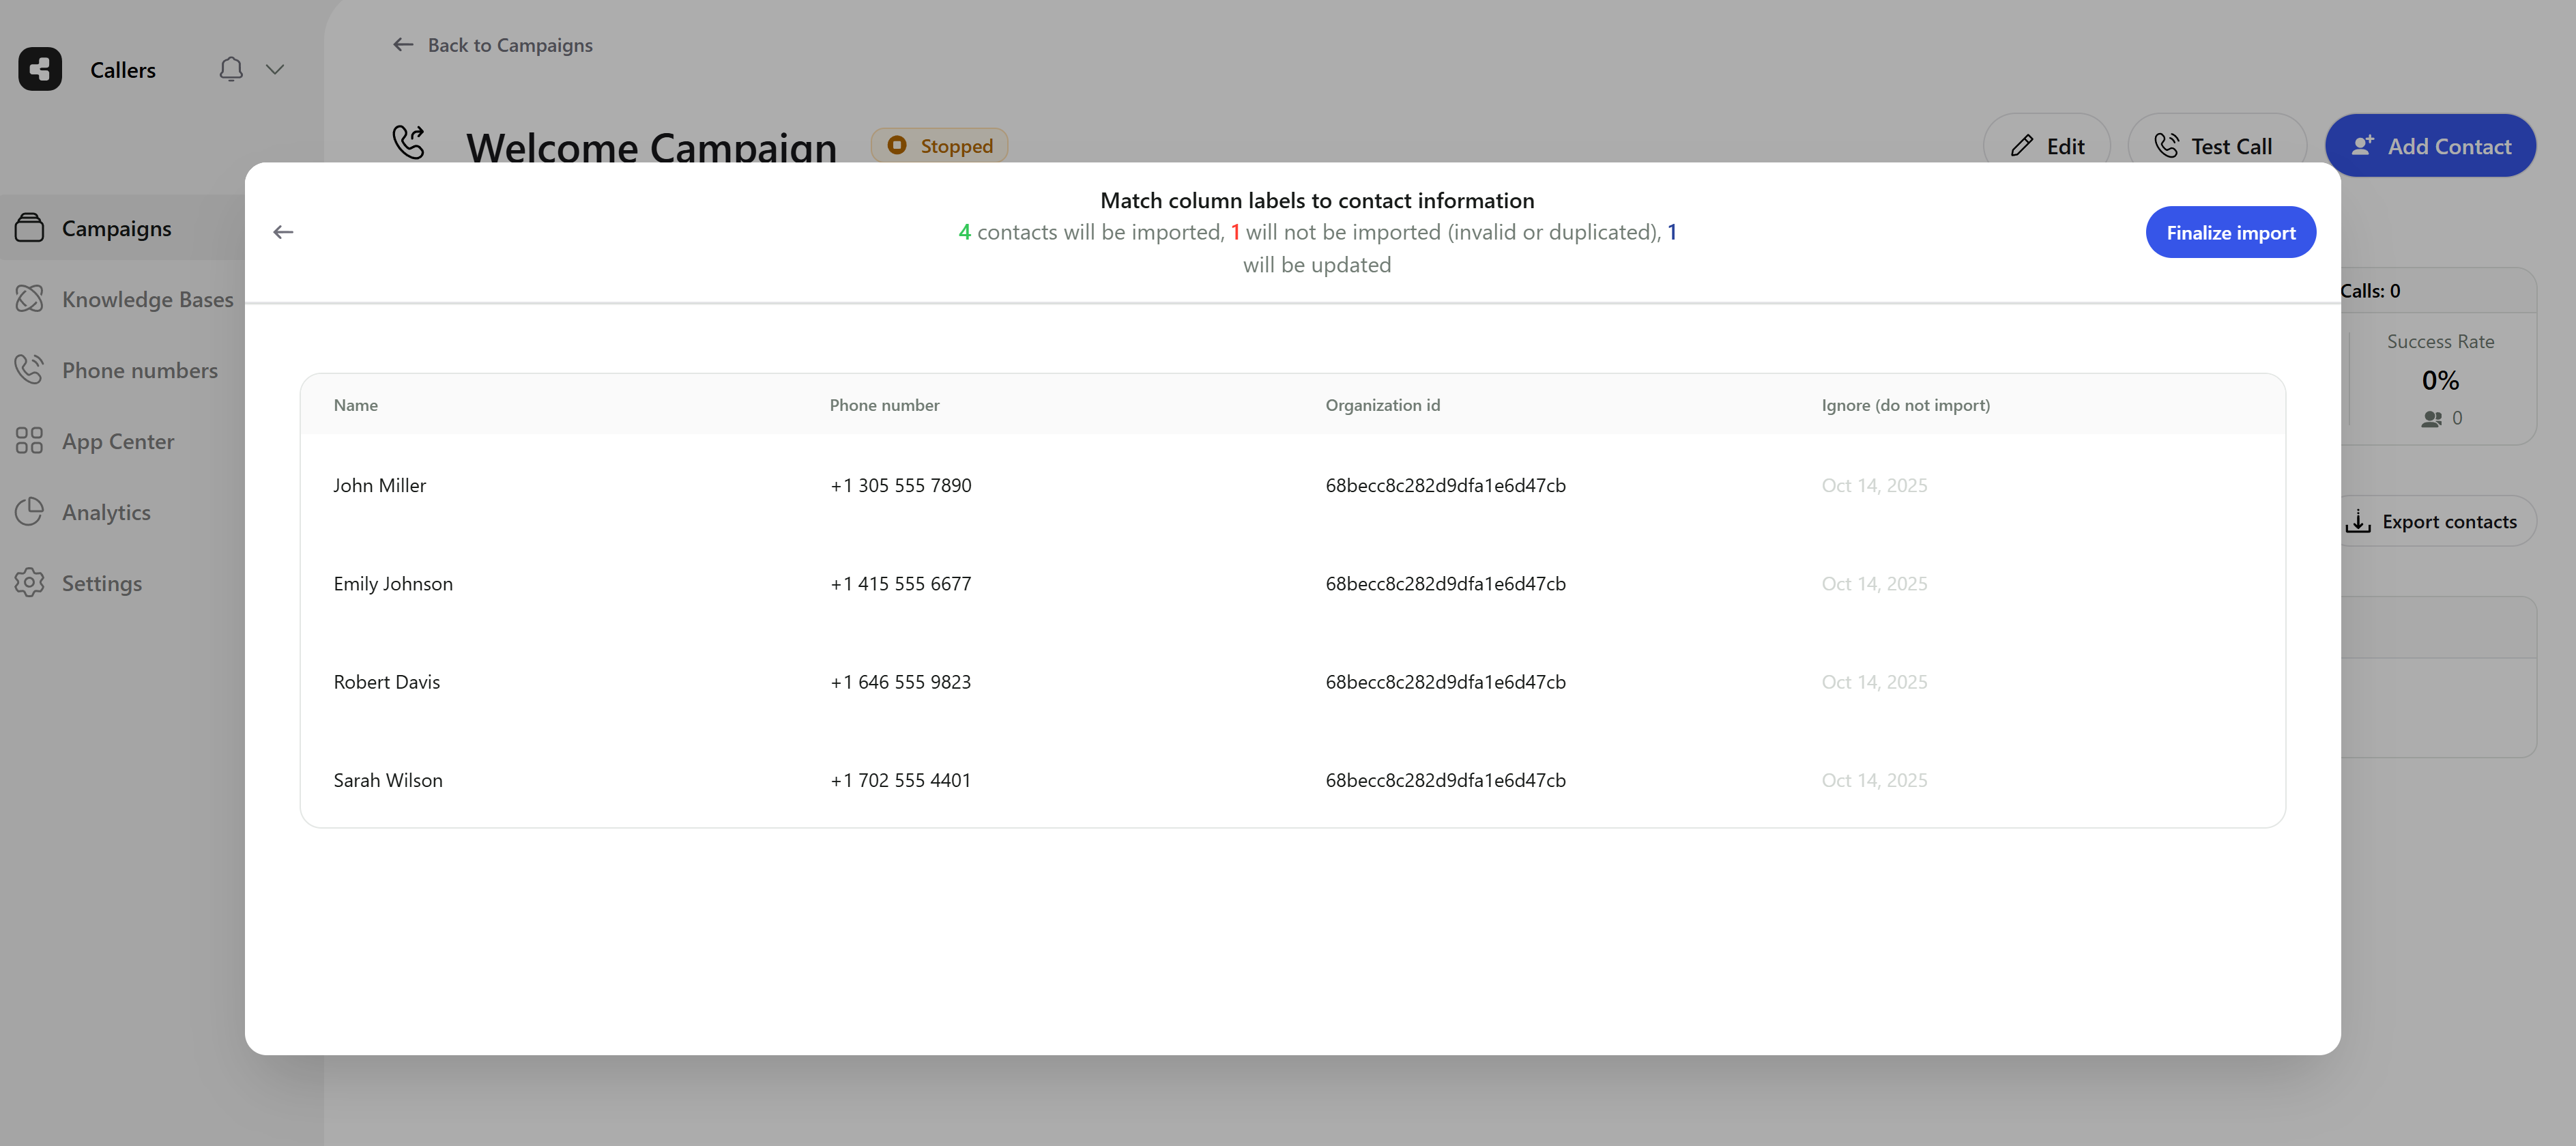
- View Summary: Once the import is finalized, a summary will be displayed showing the number of contacts successfully added and the number of contacts that were not added.
- Complete the Process: Click on the ‘Finalize import’ button located on the top right of the window again to confirm the completion of the process.
API Endpoints for Adding Contacts
Callers provides two API endpoints for programmatically adding contacts to your campaigns:Create a Single Contact
Use this endpoint to add one contact at a time to your campaign:fixUSPhoneNumber(boolean, optional): Will add 1 to the phone number if it doesn’t start with 1
Create Multiple Contacts (Bulk)
Use this endpoint to add multiple contacts at once to your campaign:fixUSPhoneNumber(boolean, optional): Will add 1 to the phone number if it doesn’t start with 1
- The
datafield is an object that can contain any custom fields that match the variables in your campaign - The
phoneNumbersarray can contain multiple phone numbers for a single contact. These numbers will be called sequentially until one is answered - Phone numbers should include the country code (e.g., +1 for US numbers)
- Duplicate contacts (based on phone number) will not be added again
- You can use either
phoneNumber(single) orphoneNumbers(array for multiple numbers)